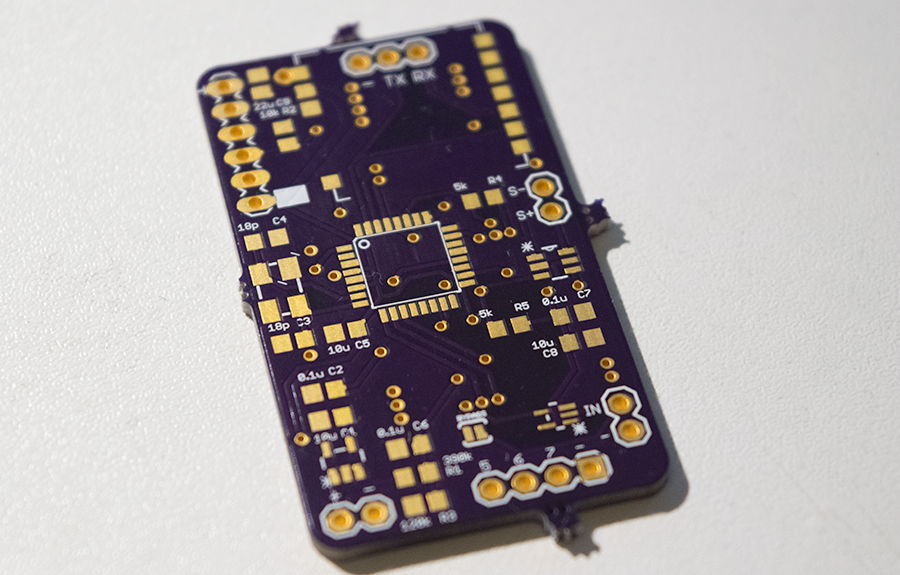
A few weeks ago, I started work on internet connected bathroom scales, and I finally received my custom PCB’s to finish the job. I discovered that most digital scales use strain gauges to calculate the amount of weight on them, meaning there is almost no mechanical movement making them perfect to interface with.
The set of scales that I purchased handily had the Wheatstone bridge markings on the PCB silkscreen, which made connecting up the ADC nice and easy.
Testing
My first test was a success, which used an 4 channel MCP3424 18bit ADC to measure the sense pins, and have an Arduino Mega read the result via I2C. While it worked, it was a little cumbersome and not really a finished product. So, I started up Eagle and created a custom PCB and sent it off to OSH Park to get fabbed.
Looking through Farnell, I found that Microchip produce a number of different variants of the ADC that I used, and they made a single channel version. To lower cost and reduce board space I picked the MCP3421. It works in the exact same as the 4 channel version, and still has the programmable gain amplifier which massively enhances the accuracy at lower voltages, but is a much smaller SOT 23-6 package.
To lower power usage, I wanted to sleep the ATMega328 chip when the scales aren’t stepped on. The library I always use is found here. It makes it nice and easy to decide how you’re going to sleep and wake the chip. The ATMega328 normally only wakes from deep sleep when it receives a LOW signal. This is a problem, as I was looking to use the signal from the LCD backlight which turns on when the scales are stepped on. After scratching my head, I decided to use an inverter, which does exactly what you expect; turns a LOW to a HIGH and vice versa. Farnell came to the rescue again, and I found the tiny 74AHC SOT-353 single gate chip which fitted perfectly.
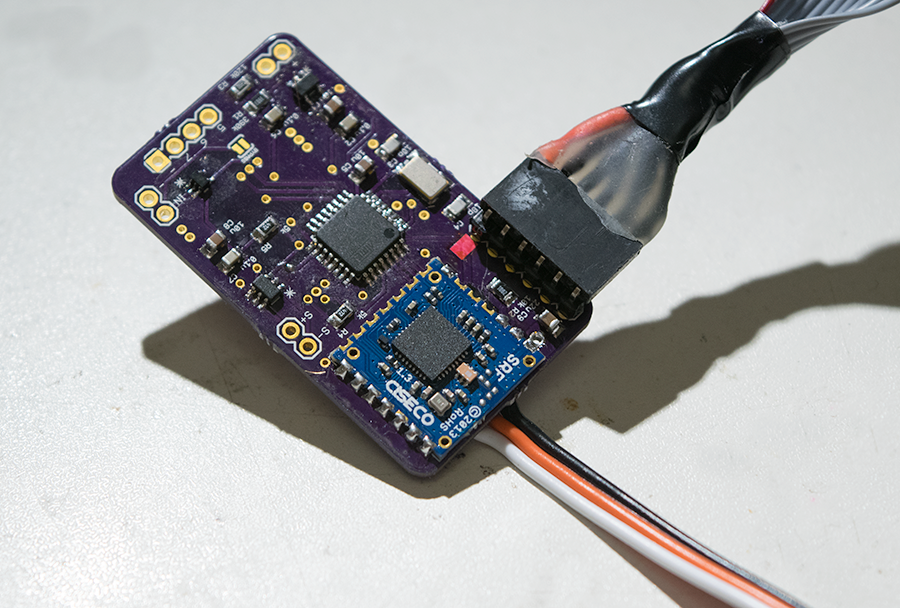
All my other projects use XRF radios as they are reasonably cheap (~£10) and have great range – I used RFM12 in the past and the range wasn’t as good. It seemed wise to add a footprint for their tiny SRF module. In my design I removed some of the pads that I don’t use to make routing easier. The pins I was interested in are simple, VCC, GND, TX, RX and SLEEP. The SRF module has a sleep current of <0.5uA which is negligible in this project.
Construction
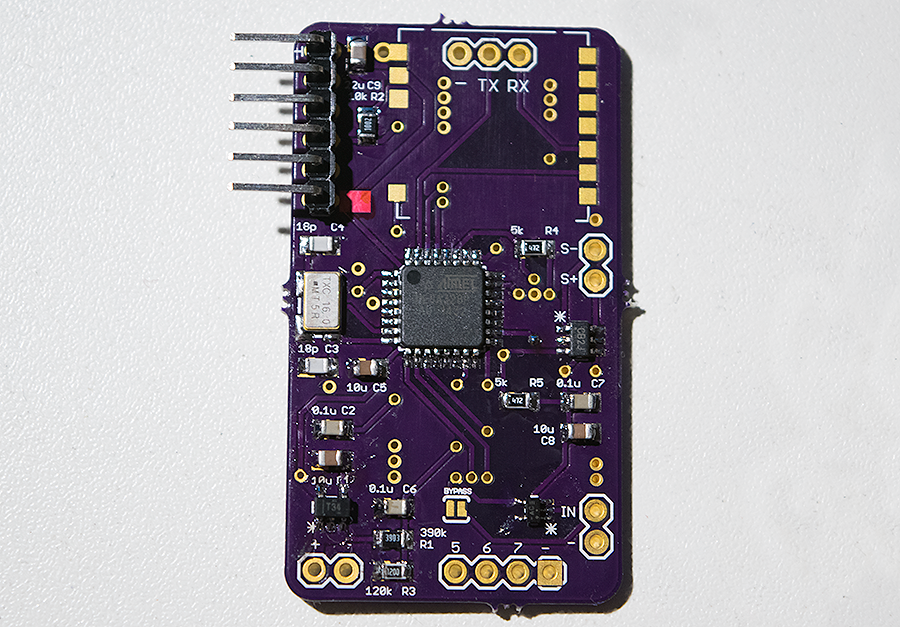
I previously had measured to see how big I could make the board, so it slotted nicely next to the original factory PCB. I wanted to make sure that I didn’t disrupt the scales normal operating process, so all of my changes had to be reversible.
My plan was to use the backlight LED circuit to notify the ATMega328 that it needed to wake up. My first attempt was to connect the inverter input directly to the output of the transistor on the board, but this left the backlight slightly on when the it should have been fully off. I believe the inverter was providing a current path which was sufficient to have the LEDs turn on. In the end, I moved the input to the gate/base which would directly read the scales microcontroller signal, rather than the amplified version. This worked perfectly.
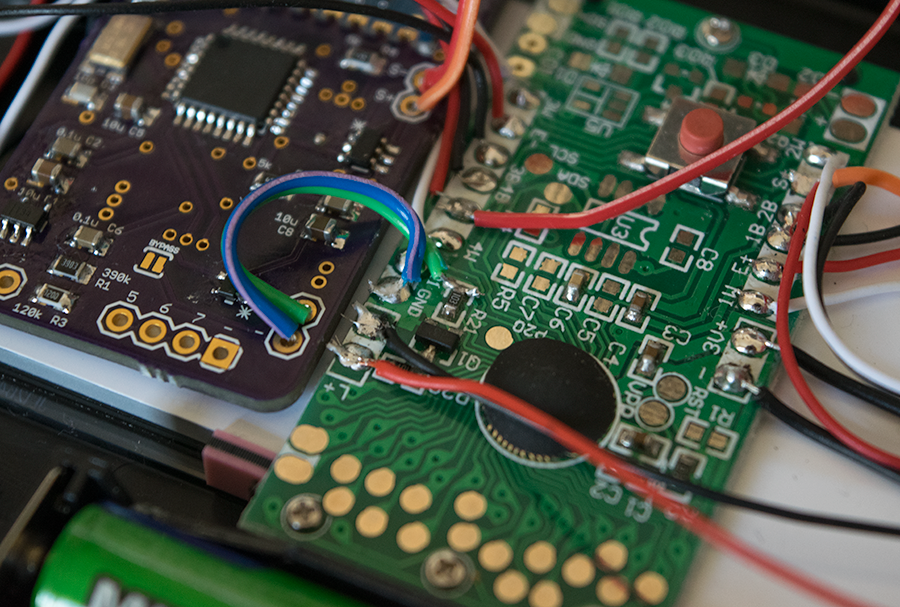
I decided on a LiPo battery, mainly because I had it hanging around, and also because the voltage regulator would need slightly more than 3.3v, and the two AAA’s original installed on the scales are 1.5v nominal. LiPo’s are nominally 3.7v each, but will start at 4.2v when freshly charged. Considering as the scales originally operated at 3v, I figured 4.2v may be too much. Rather than attempt to regulate the voltage down with more circuitry, I used one of the spare outputs at the bottom of my board and left it always HIGH. Before you do this, measured the current the circuit can draw, as the ATMega328 can only source 20mA max; the scales drew ~4mA max.
I’ve learnt from the past that you should ALWAYS breakout any unused pins from your chosen microcontroller; you never know when they’ll come in handy and you’ll be kicking yourself if you have to respin a PCB for a single pin.
Annoyingly, Ciseco seem to have stopped providing their SRF modules with the little chip antennas, but I had planned to add a wire antenna anyway.
Coding
First hurdle was the I couldn’t get my ADC library to talk to the MCP3421. After checking the datasheet and playing around, I found that the I2C address was 0x69, not 0x68 as the MCP3424 had been.
After playing about for some time, I had ADC values being returned, but I had managed to solder the sense wires the wrong way wrong. Not a problem, the MCP3421 measures both negative and positive values, so I inverted the results in code.
I found that the code turned into a little more than I expected. There are several steps to getting a value:
- The scales turn on, triggering an interrupt
- Start reading from the ADC and wait until the results settle for 10 readings (~250ms for each reading)
- Send the results
- Wait for the scales to turn off, which causes another interrupt and sends the ATMega328 to sleep.
There are things to make this process better, as you can have a situation where the scales turn off before a result has been sent. The other issue is getting a reading that matches the readout on the scales themselves. Depending on the scaling factor you use, it’ll be correct when measuring 10kg, but read incorrectly when measuring – say – 50kg. I settled for a figure that was accurate around my current weight and would send the raw measured value to my server to allow modifications to the scaling factor at a later date.

I decided to use XT60 connectors for the battery mainly because my LiPo charger has this connector, and I have loads from previous projects. I made cut-out’s for the debug serial wires at the top, and also a cut-out for the programming plug so I could modify the code while standing on the unit.
I popped the plastic cover back on, and apart from the battery, you wouldn’t be able to tell that I made a modification; the display works exactly as before.
Results
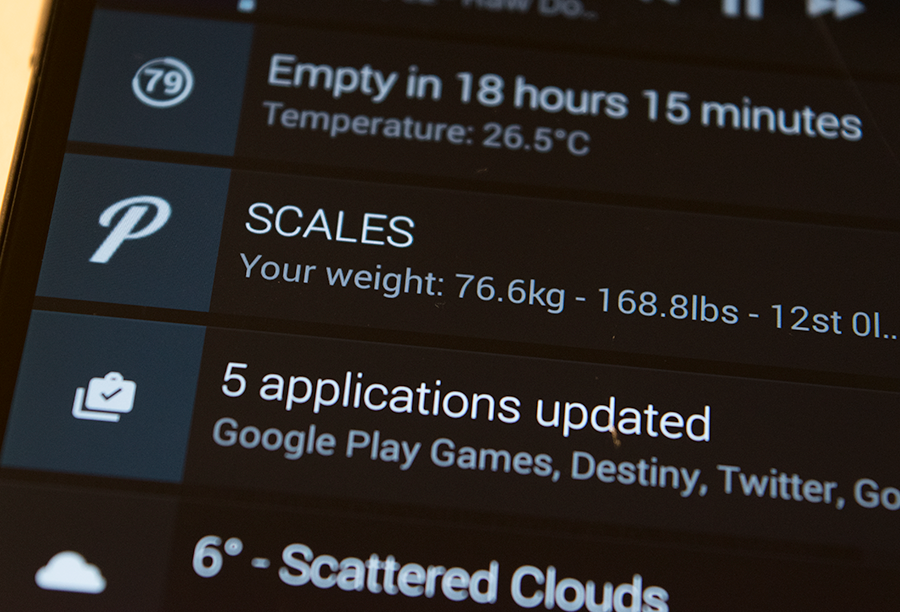
The results of the scales are sent via the SRF radio back to my home server, and I then sent it to my phone using Pushover which is a really easy method of sending push notifications to iOS and Android phones. Its really quite satisfying standing on the scales and feeling my pocket vibrate with the results.
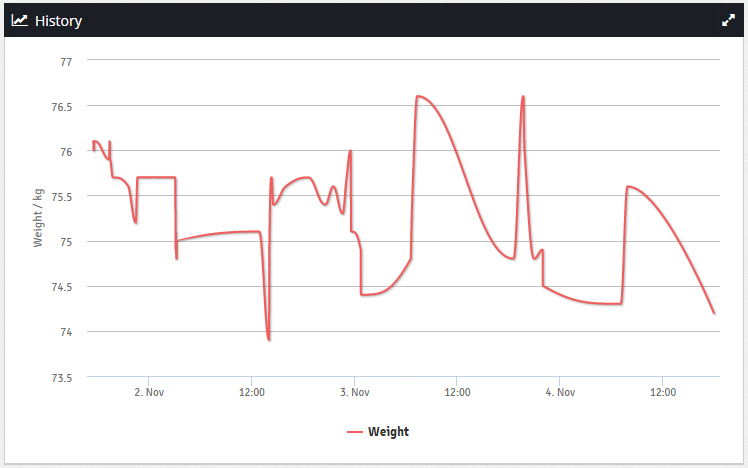
While an instantaneous result is gratifying, I really needed to plot the results to show a general trend. I have a dashboard project I’m working on and used HighCharts, along with a Restler based API to show a graph. The results are all over the place because your weight varies a lot depending on how big your lunch was, and how much you need to drop a deuce; but I’m looking for a weekly, maybe monthly trend.
Other scales
When I first started this project, I bought my current set of scales, and another set from eBay. Opening them up showed a much smaller simpler PCB which doesn’t have the same silkscreen. Its still possible to figure out where to solder the sense wires, it’ll just take a little longer.
Going further
While the SRF radio works for me, I have plans for a Bluetooth low energy version that’ll go directly to the users phone and maybe a module that can be easily installed into a set of off-the-shelf scales for a much cheaper method for someone to measure their weight.
Resources
GitHub – https://github.com/SorX14/Projects/tree/master/Scales
Hi,
I’m also interested in a bluetooth version.
It’s meant for a health project that i’d like to see here in Brazil.
Do you think it’s possible ?
I think its possible but I’ve moved on to other projects. The PCB I made has the footprint for an XRF radio, but this could be changed for a bluetooth module as they both use serial communication. I’ll leave it up to yourself to figure out the specifics, but I can tell you that its definitely possible with off the shelf components. A quick google (for ‘arduino bluetooth’) came up with this tutorial which you should be able to use. Best of luck 🙂
Could you tell me which scale you ended up using in the end? I would like to try this as a school project and am not sure what would be a good scale to buy.
Hey Eva,
I found some on ebay, and the listing now no longer exists, and I can’t see an exact replacement available. However, all of these type scales work in the same way, they’ll just have a slightly different PCB to figure out.
If I were looking for another pair, I would get one with a backlight, because then you know that you’ll be able to tap the signal to wake up the processor.
Best of luck with your school project,
Steve
This looks like a perfect project for ESP8266, don’t you think? 🙂